If you were to assemble your dream iPad case, you’d have to gather numerous accessories to meet all of your desires. But what if there was a one-stop-shop bundle available?

I’ve spent too long reviewing software, as of late. And I’m not a member of the crowd that Apple is going to send review copies of their products to. (Please, oh please, Tim! Just one 27“ 5K iMac! I promise, I’ll write a review for the ages … )
So what hardware can I get my mitts on to review? I have always been a fan of people who see a need and then design a simple, pragmatic solution. And today we review a bundle of products that satisfies numerous desires.
“The Touchfire iPad … case is packed with innovative features that are simply not available in any other iPad case. But perhaps most importantly, our case provides a rock-solid typing platform with a wide range of positions.”

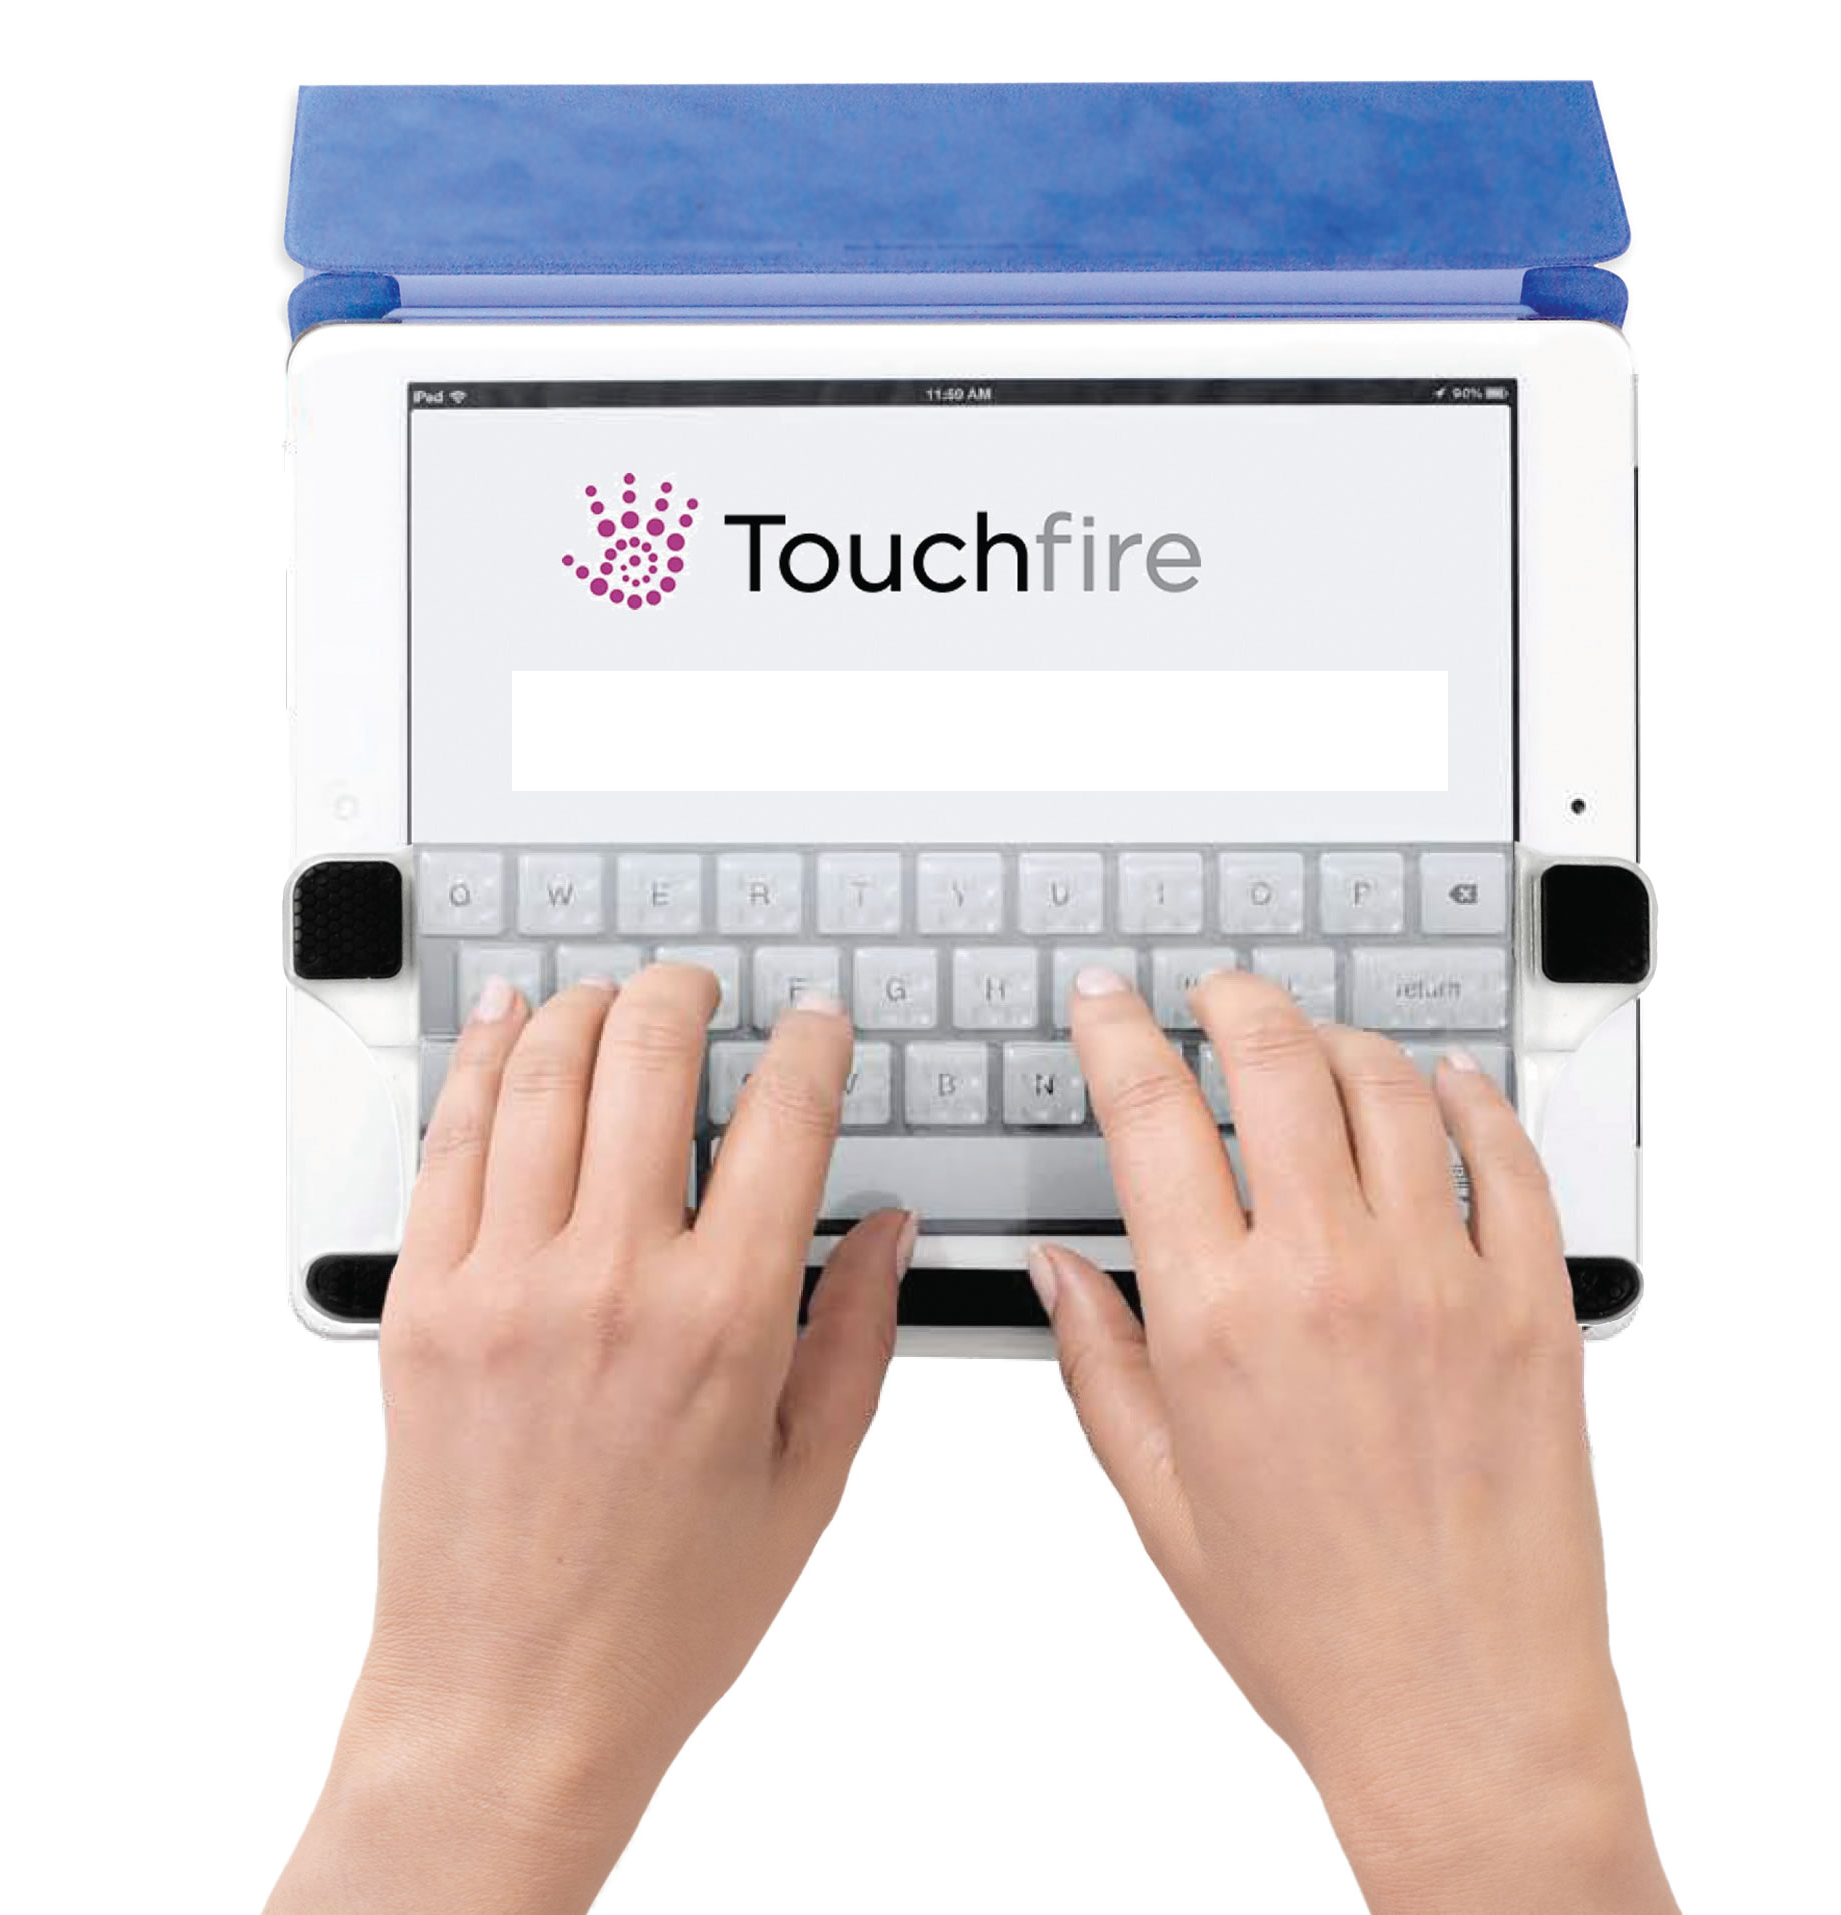
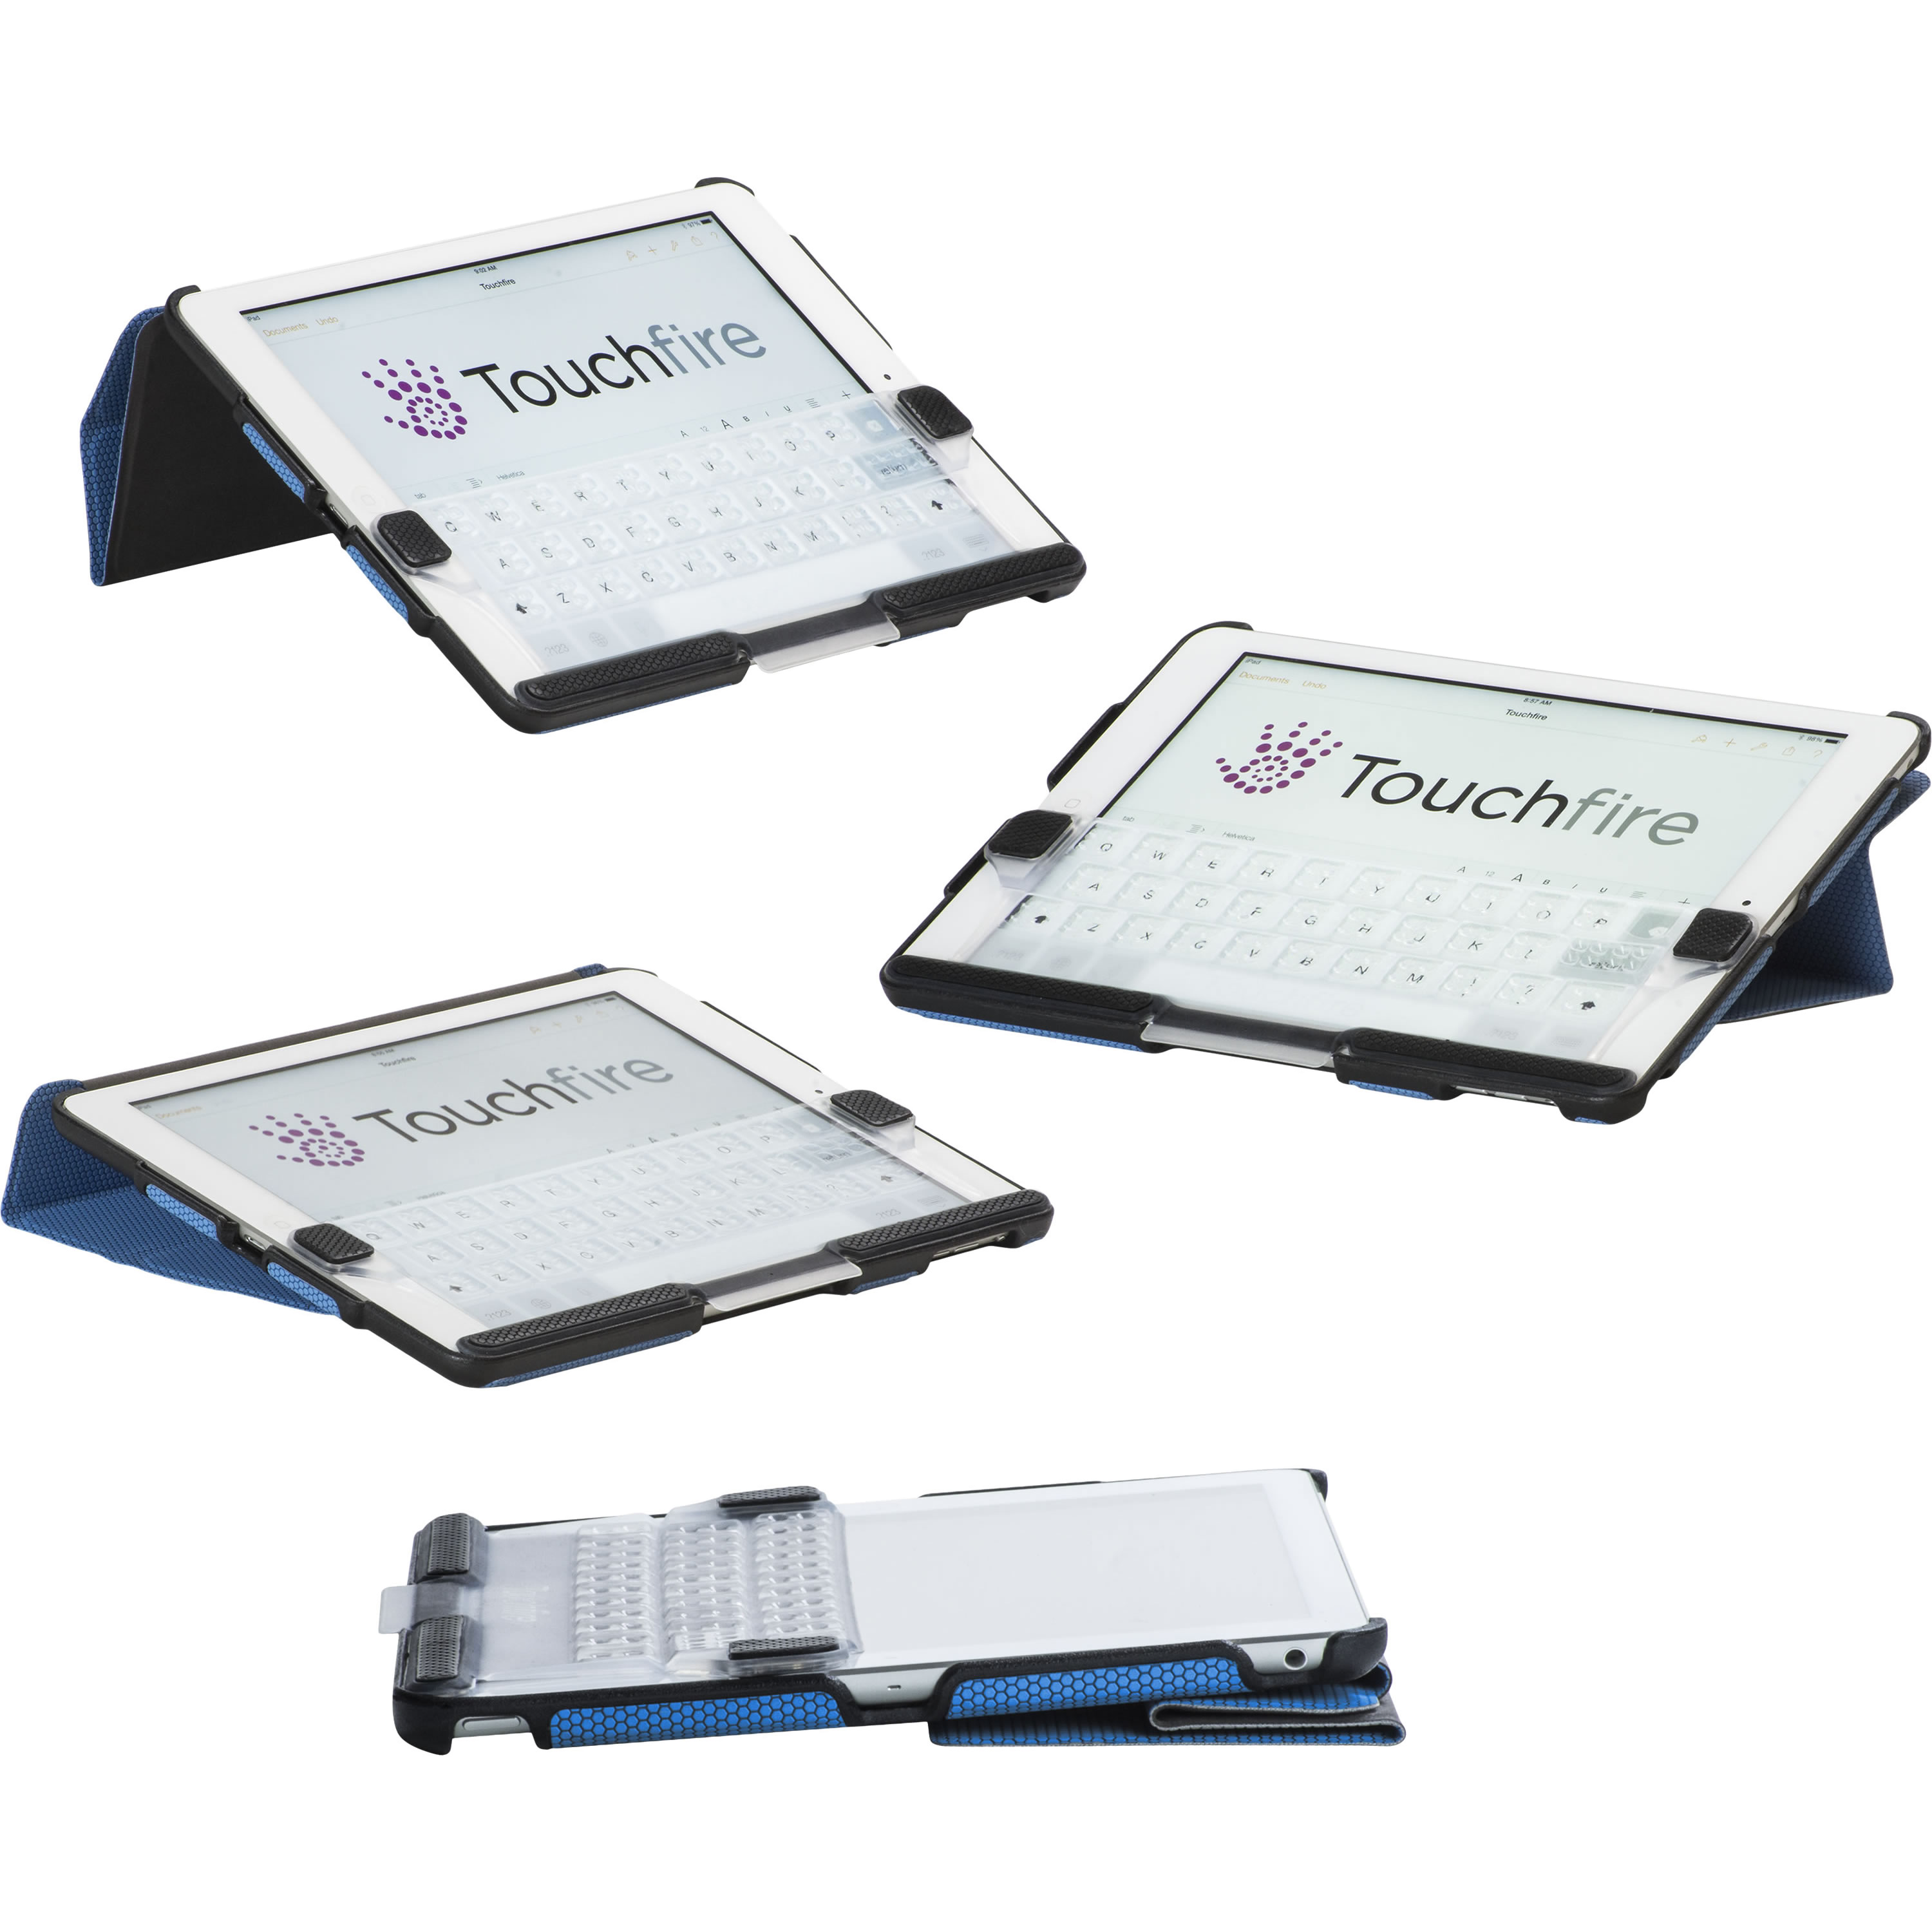
All of this is focused around the Touchfire keyboard, a transparent silicon cover that you attach to your touchpad’s keyboard via four small magnets, providing you with a tactile feel, somewhat like a laptop keyboard. You now have the ability to anchor your hands on the home row and keep your eyes on the screen.
(Before I go any further, understand that I reviewed the Mini version, which has several slight differences from the regular sized model. The experience on the regular sized model may be somewhat different.)
As the silicon overlay is transparent but three dimensional, it can distort the vision of the keyboard’s text and symbols, making it difficult to read the keys unless you ‘hunt and peck’ (guilty) To help alleviate this problem, the manufacturers recommend that you go into Settings>General>Accessibility. Locate the button to turn on bold text. I found that this did make reading the keys significantly easier.
The keyboard can be quickly retracted for full screen access. You can store it inside the case when closed by merely leaving it in position. If you’d prefer, you can purchase a separate carrying case to house the keyboard.
There are magnets built into the case to serve several functions. Of course, the obvious one being used as a latch to secure your cover and protect your screen while in transit. Depending on which model you’re using, full size, the Air, or Mini, the same strategically positioned magnets function to position your iPad at various angles for typing and viewing. Naturally, you have more choices with the full-sized models as opposed to the mini version. You can also stand the case on it’s side if you wish to view your iPad in Portrait mode for reading.

The case has a smooth texture, but because of the material that it’s constructed from, you need only grasp it with light pressure to obtaina solid grip. It has the necessary cut outs for your camera, Lightning connector, microphone, 3.5mm plug (so long as it remains a thing) and all the other necessary buttons.
There are two redirectors that aim both speaker’s sound towards you. The manufacturer claims that it increases the volume by 50%. I wouldn’t go so far as to say that it amplifies it by that much but it is certainly more convenient than cupping your hands over them.

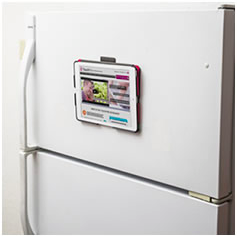
The aspect that impressed me the most was the strength of the magnet on the back of the case used to stick your iPad to any ferrous material (i.e., fridge, metal-backed whiteboard, etc.). I’m usually leery of features such as this, fearing that my mobile device will at some point come crashing down. But I was very impressed with how solidly this held my iPad in place.

You can also use adhesive wall mounts for ideal placement on non-ferrous surfaces. Simply find your desired location and place a mark where the top of your iPad will go. Take the included rubbing alcohol wipe and clean the area where you will place the wall mount. Pull the cover off of the industrial adhesive on the mount’s backing and place it where you placed your mark upon the wall.
You can use it for three hours initially. But it takes the adhesive 72 hours to cure to a point where you can leave the iPad mounted as long as you like. There is a wall mount video tutorial demonstrating how to place the mount and how to remove it. (The mount can only be positioned one time because of the adhesive’s properties.)
There were a few cons that I did come across. Occasionally, the Touchfire case didn’t completely shut and put my iPad to sleep. As a result, after finishing work on my iPad one evening, I closed the magnetic cover and went to bed. The next morning I awoke, sat down at my desk, only to find that the battery had drained overnight. Perhaps it was an OM issue (Operator Malfunction).
The keyboard was disappointing in one respect. I repeatedly applied it as per instructions but the keyboard remained in place only if I typed with a light touch. Perhaps, like Apple’s new keyboards, it takes time to adjust. (To be fair, I ‘hunt and peck.’ Possibly, if I had my hands in the ‘home row’ position, it would have anchored the keyboard more securely.)
The keyboard will not work with most screen protectors. One brand does and is available at Touchfire’s site.
Touchfire makes it very simple to get started with both the keyboard and the case by providing several videos on their site.
The Touchfire iPad case is available in four colors: Black, Light Grey, Blue, and Red. The case is currently available for iPad Air, iPad Air 2; iPad 2, 3, 4; iPad mini, Retina mini, iPad mini 3; wall mounts can be purchased in packs of 1 or 3. (Also, I understand that the developer is looking into the feasibility of a version for the iPad Pro.)
Components (the case, the keyboard, the carrying case, and the wall mounts) can be purchased separately or bundled from the site as well.
If you’re in the market for a case, a keyboard, or both, the prices are reasonable. And think of it. You can travel with your iPad without having to lug a Bluetooth keyboard additionally and still get your work done. I would say that alone is worth the price of admission.
©2016 Frank Petrie

0 Comments